How to customize My Account page in WooCommerce site Via Elementor Pro

The default My Account page from WooCommerce can not be edited. It looks rough and is not compatible with the style of your website. Below is what the My Account page looks like by default. To be honest, this page is ugly.

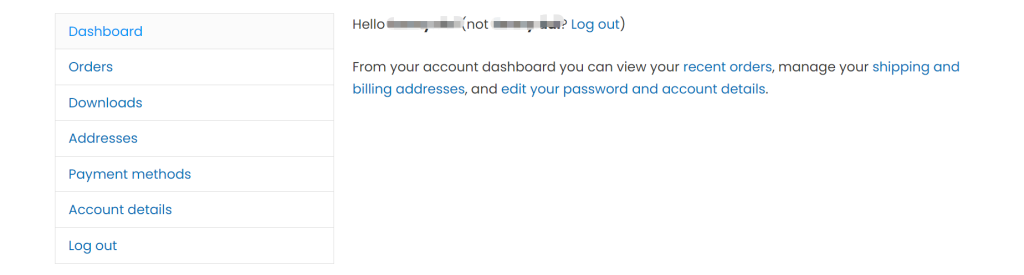
The default My Account page is crude. The typography and link color of the endpoint content are not good-looking. A fully customized My Account page can improve the professionalism of your business. Therefore, it’s crucial to customize the My Account page in WooCommerce.

In this article, we will introduce how to customize the My Account page using Elementor Pro.

If you’re using Elementor as a page builder, you can visually customize the WooCommerce My Account page without coding.

Customize The My Account Page via Elementor Pro

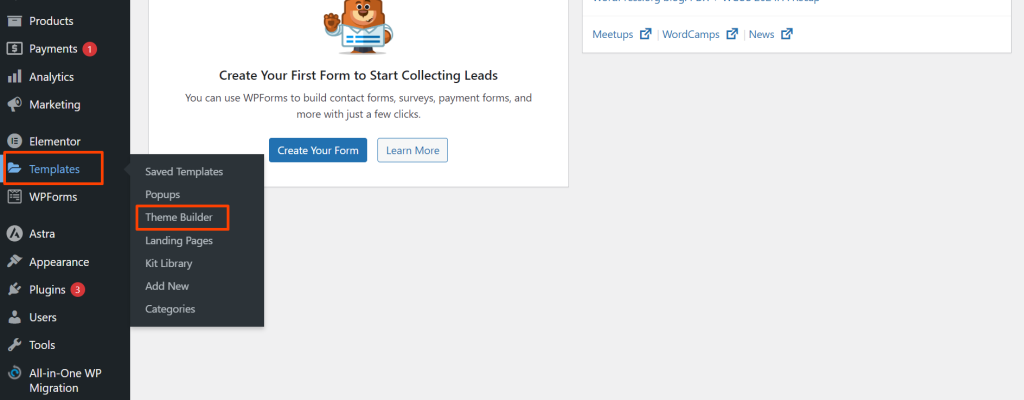
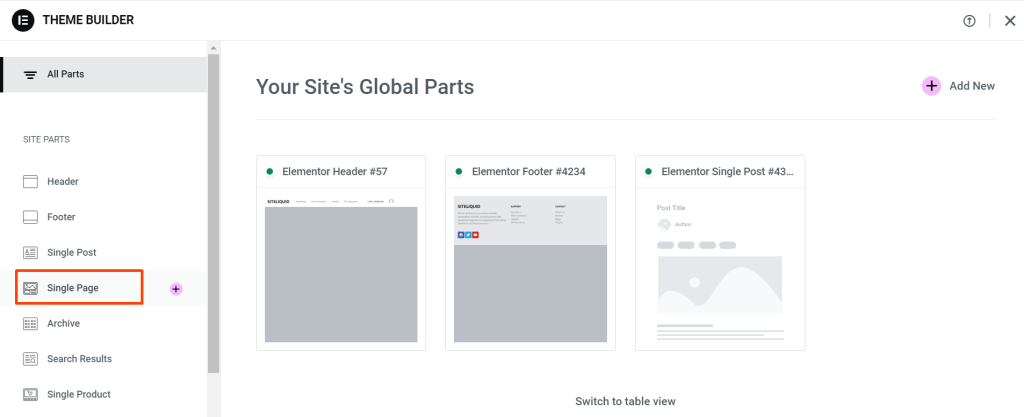
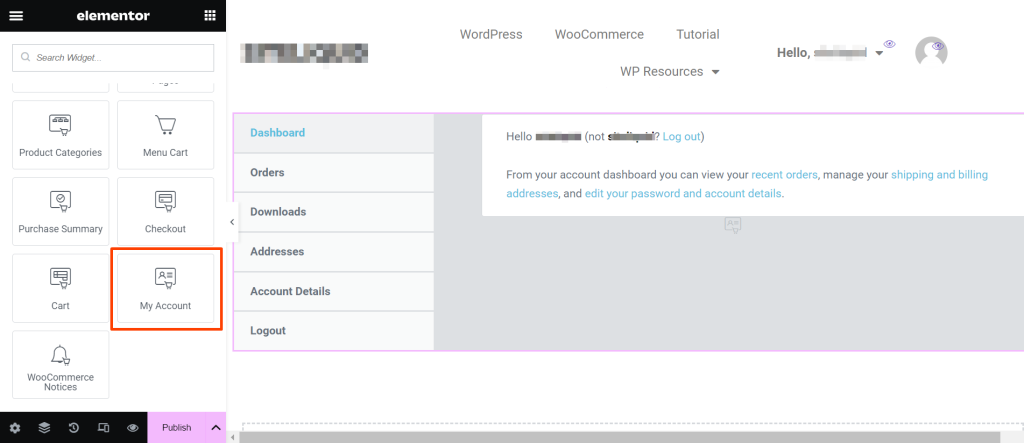
Elementor Pro offers native WooCommerce widgets, but by default, it has limited control over the My Account page. However, you can use the Theme Builder in Elementor Pro to create a custom My Account page template:

Step 1: Go to Templates > Theme Builder.

 
Step 2: Create a new Single Page template for the My Account page.

 
Step 3: Drag and drop WooCommerce-specific widgets like My Account or custom widgets to build your layout.

 
Step 4: Customize the typography and hover color of the endpoint content, the section color and the link color, etc.

 
Step 5: Add customize icon before the endpoints, locate Elementor Pro–> Advance–> Custom CSS

Step 6: Add the snippet below to Custom CSS, and update it.

				
					/* Dashboard */
.woocommerce-MyAccount-navigation ul li.woocommerce-MyAccount-navigation-link--dashboard a:before {
    content: "\f015"; /* Font Awesome icon for dashboard */
    font-family: "Font Awesome 5 Free";
    font-weight: 900;
    margin-right: 10px;
}

/* Orders */
.woocommerce-MyAccount-navigation ul li.woocommerce-MyAccount-navigation-link--orders a:before {
    content: "\f291"; /* Font Awesome icon for orders (clipboard) */
    font-family: "Font Awesome 5 Free";
    font-weight: 900;
    margin-right: 10px;
}

/* Downloads */
.woocommerce-MyAccount-navigation ul li.woocommerce-MyAccount-navigation-link--downloads a:before {
    content: "\f019"; /* Font Awesome icon for downloads (download arrow) */
    font-family: "Font Awesome 5 Free";
    font-weight: 900;
    margin-right: 10px;
}

/* Addresses */
.woocommerce-MyAccount-navigation ul li.woocommerce-MyAccount-navigation-link--edit-address a:before {
    content: "\f015"; /* Font Awesome icon for addresses (home icon) */
    font-family: "Font Awesome 5 Free";
    font-weight: 900;
    margin-right: 10px;
}

/* Account Details */
.woocommerce-MyAccount-navigation ul li.woocommerce-MyAccount-navigation-link--edit-account a:before {
    content: "\f007"; /* Font Awesome icon for account details (user icon) */
    font-family: "Font Awesome 5 Free";
    font-weight: 900;
    margin-right: 10px;
}

/* Logout */
.woocommerce-MyAccount-navigation ul li.woocommerce-MyAccount-navigation-link--customer-logout a:before {
    content: "\f2f5"; /* Font Awesome icon for logout (sign-out icon) */
    font-family: "Font Awesome 5 Free";
    font-weight: 900;
    margin-right: 10px;
}


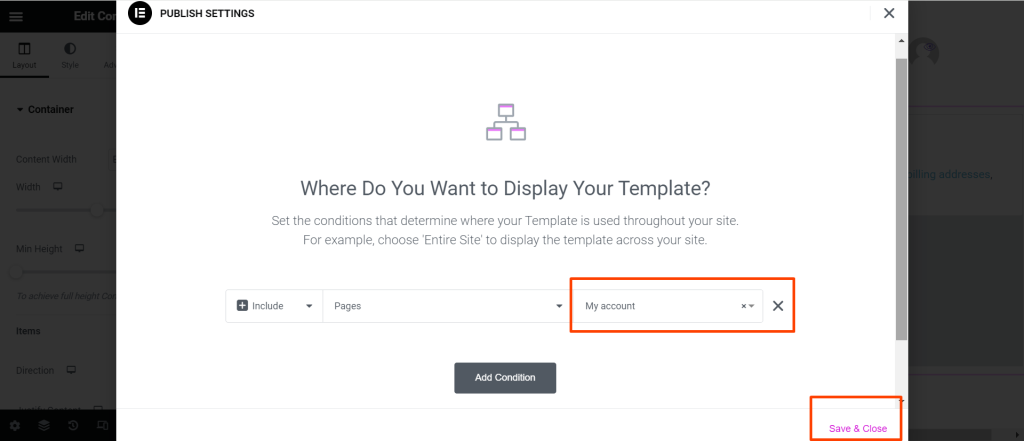
Step 7: Publish the template and assign it to the WooCommerce My Account page.

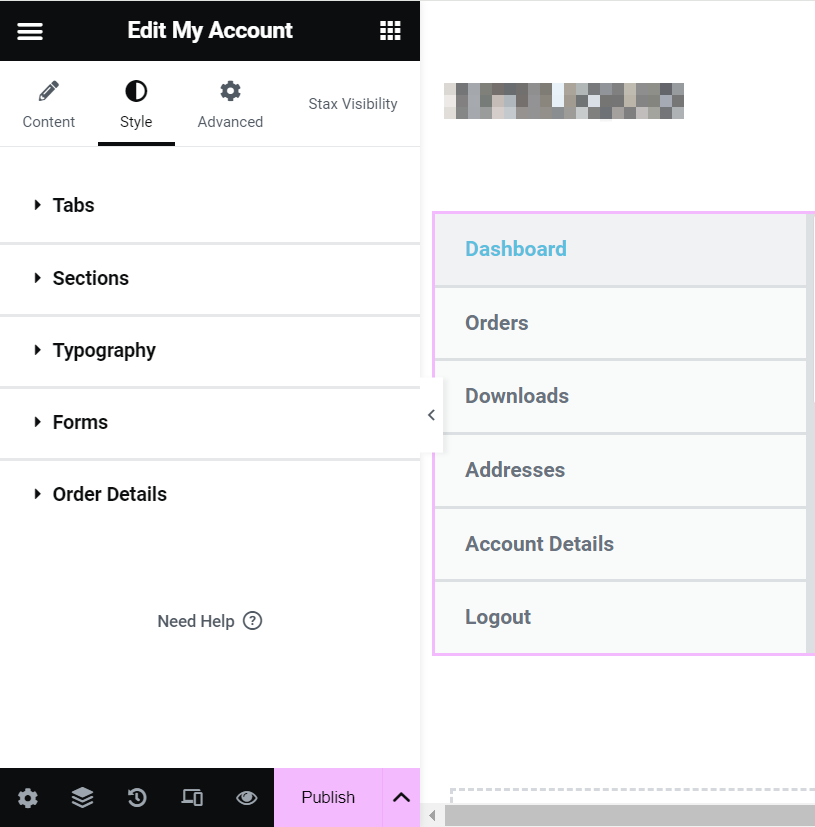
After publishing the template to the My Account page, you will see the default My Account page like this:

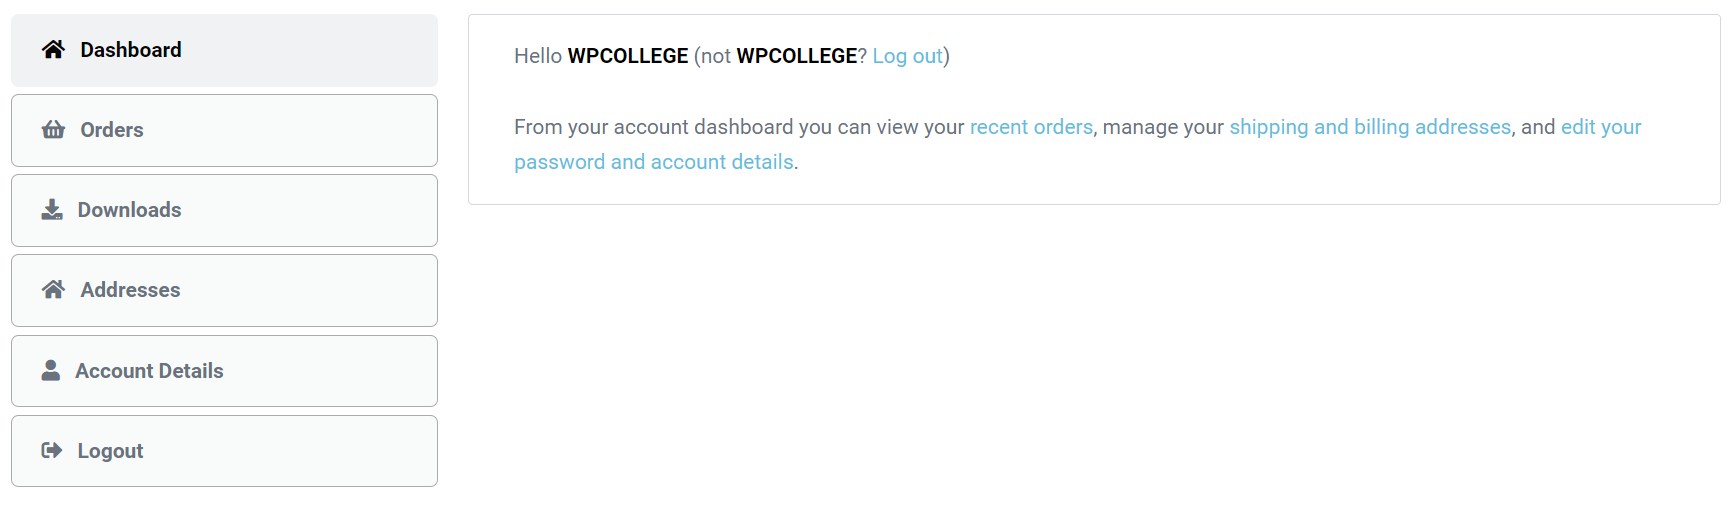
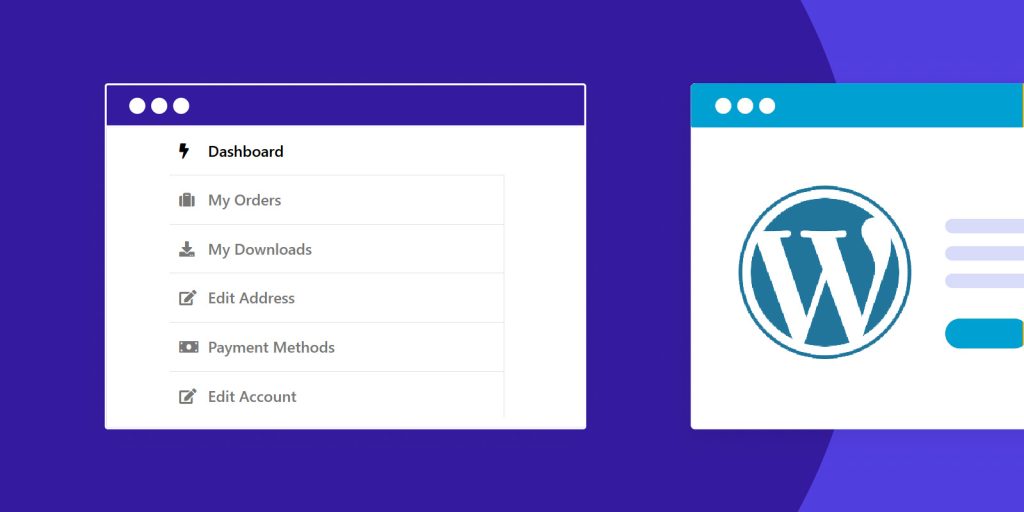
The endpoints of the My Account Menu will be more professional after adding Icons before it. 

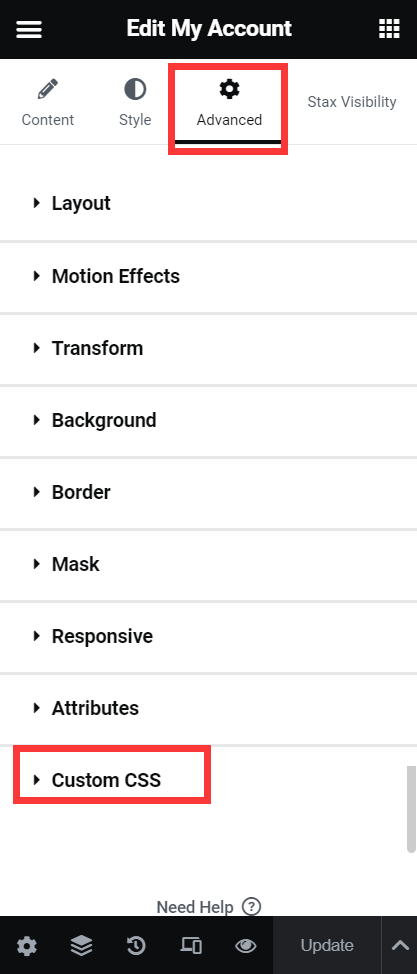
You can customize the background color of the endpoint tabs according to your website color style. Also, you can add a background image to the section. That will make your page look more professional than the default one.

Scroll to Top