If you have a WordPress website, we strongly recommend that you add reCAPTCHA to the login and register page. This is very important for protecting your website from threats.
Here are the benefits of adding reCAPTCHA to your website.
- Prevent Spam and Bot Activity
- Block Brute Force Attacks
- Protect User Accounts
- Reduce Server Load
- Prevent Fake Submissions
- Safeguard Against Data Scraping
In this article, we will introduce how to add reCAPTCHA to your WordPress website by using Google reCAPTCHA and Simple Cloudflare Turnstile. Both of these methods can be done by installing WordPress plugins.
Method 1: Add Google reCAPTCHA to WordPress
The software you need is: 1. Register your website on Google reCAPTCHA. 2. Install the Advance Google reCAPTCHA plugin on your WordPress website.
Step 1: Install a reCAPTCHA Plugin
- Log in to your WordPress dashboard.
- Navigate to Plugins > Add New.
- Search for “Advanced Google reCAPTCHA”
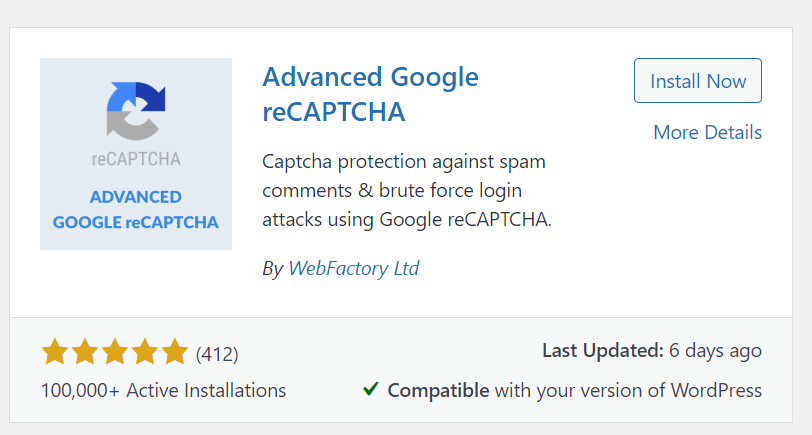
- Click Install Now and then Activate.
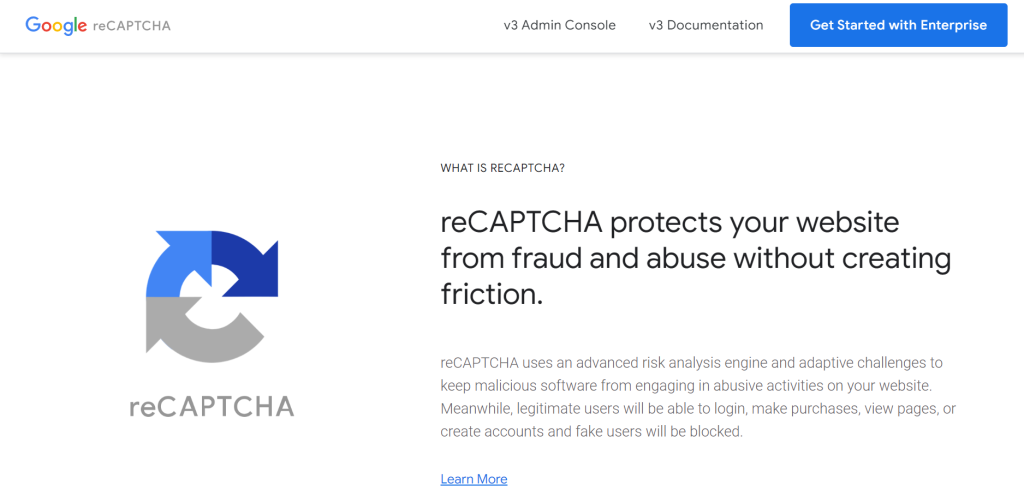
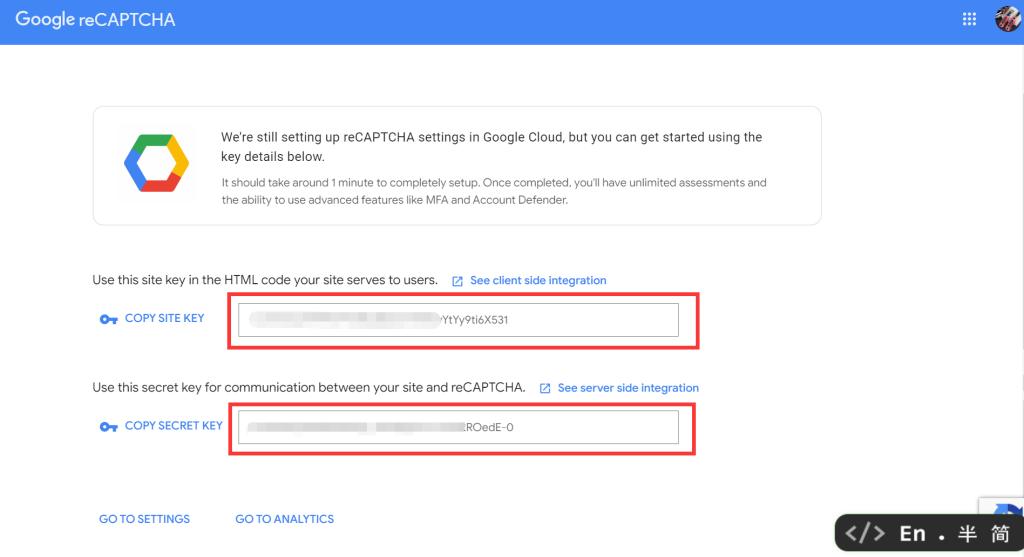
Step 2: Register for Google reCAPTCHA API Keys
- Go to the Google reCAPTCHA Admin Console.
- Sign in with your Google account.
- Click + Create to add a new site:
- Label: Enter a name (e.g., “My WordPress Site”).
- reCAPTCHA type: Choose reCAPTCHA v2 (either the “I’m not a robot” checkbox or Invisible reCAPTCHA).
- Domains: Add your website URL (e.g., www.example.com).
- Accept the terms and click Submit.

- Copy the Site Key and Secret Key that Google generates for you.
Step 3: Configure reCAPTCHA Plugin in WordPress
- Go back to your WordPress dashboard.
- Navigate to Settings > reCAPTCHA (or similar based on the plugin).
- Paste the Site Key and Secret Key you copied from Google.
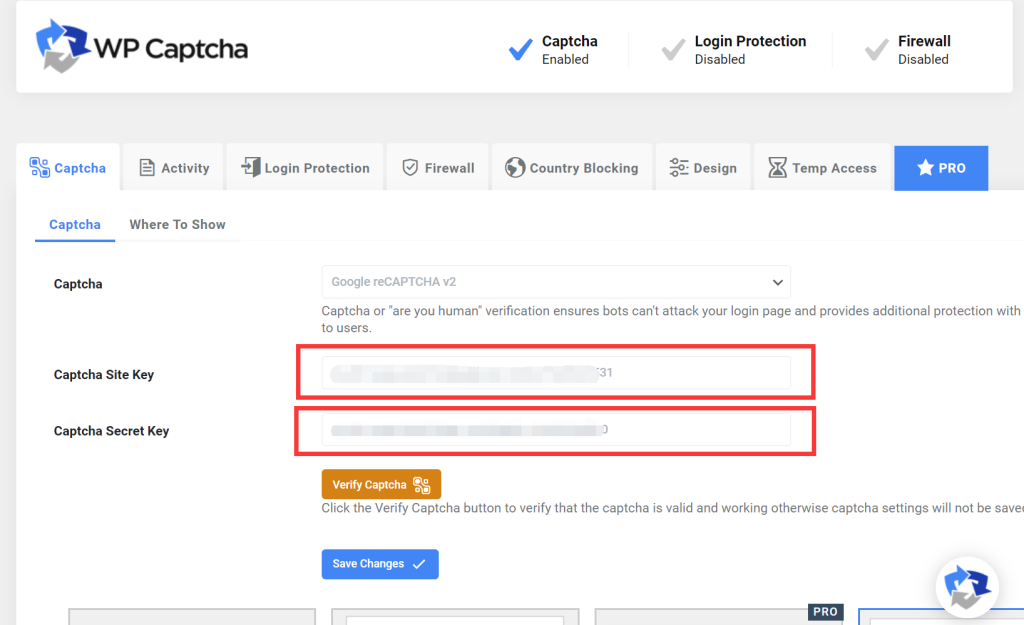
- Enable reCAPTCHA for specific forms, such as:
- Login form
- Registration form
- Comments form
- Save the settings.
Step 4: Test the reCAPTCHA Integration
- Log out of your WordPress admin panel.
- Visit the login page or any other form you activated reCAPTCHA on, to verify that reCAPTCHA is working.
Method 2: Add reCAPTCHA via Cloudflare Turnstile
Cloudflare offers Turnstile, a CAPTCHA alternative that doesn’t rely on Google and is lightweight. This method adds protection to your forms without affecting user experience.
The software we need for this method is: 1. register your website on Cloudflare Turnstile. 2. Install the Simple Cloudflare Turnstile plugin on your website.
Step 1: Enable Cloudflare on Your Website
- If you haven’t already, sign up for a free account at Cloudflare.
- Add your website to Cloudflare and change your DNS settings to route traffic through their network.
Step 2: Enable Cloudflare Turnstile
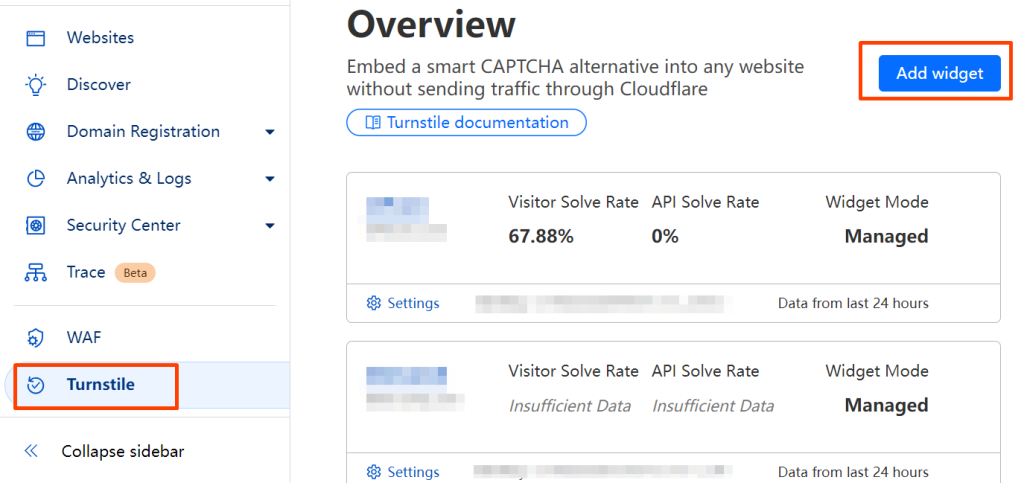
- Log in to your Cloudflare Dashboard.
- Go to Turnstile
- Enter Turnstile and locate the Add Widget button
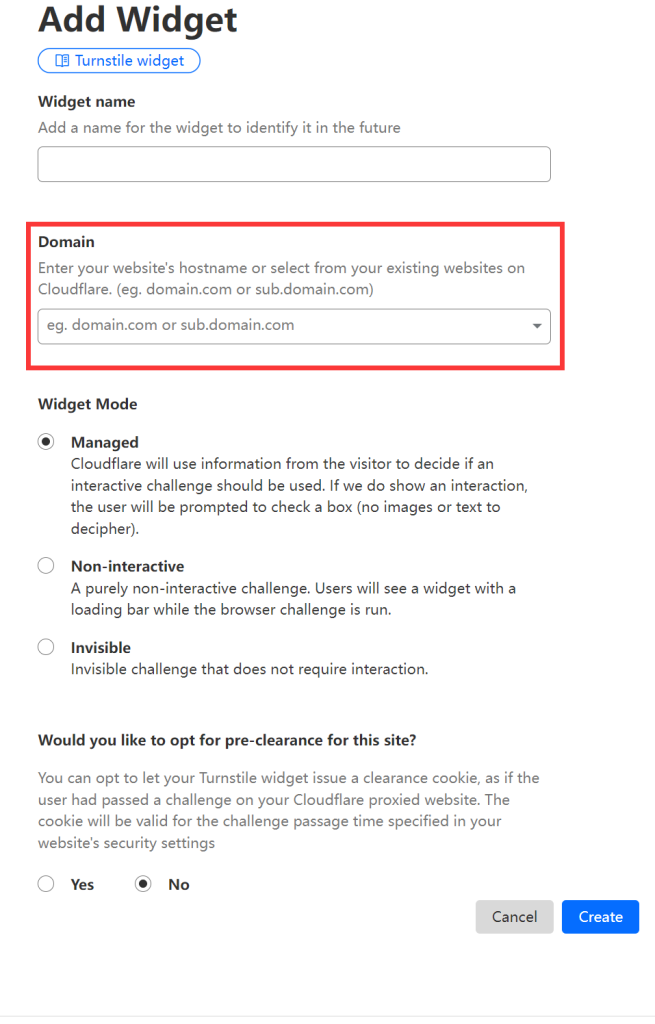
- Input the domain of your website and click on Create to generate the site key and secret key for your website.
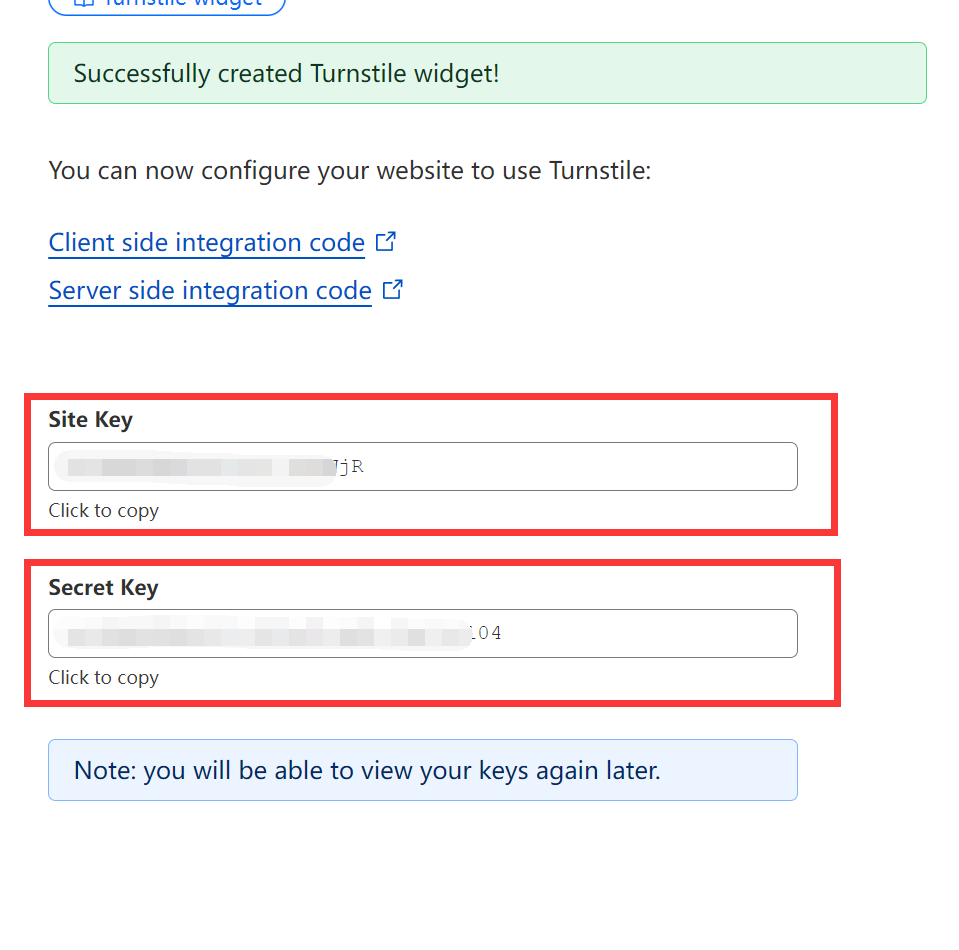
- Get the site key and secret key
Step 3: Integrate Turnstile with WordPress
- Install the WP Cloudflare Turnstile plugin from the WordPress plugin repository.
- Navigate to Plugins > Add New and search for Simple Cloudflare turnstile plugin
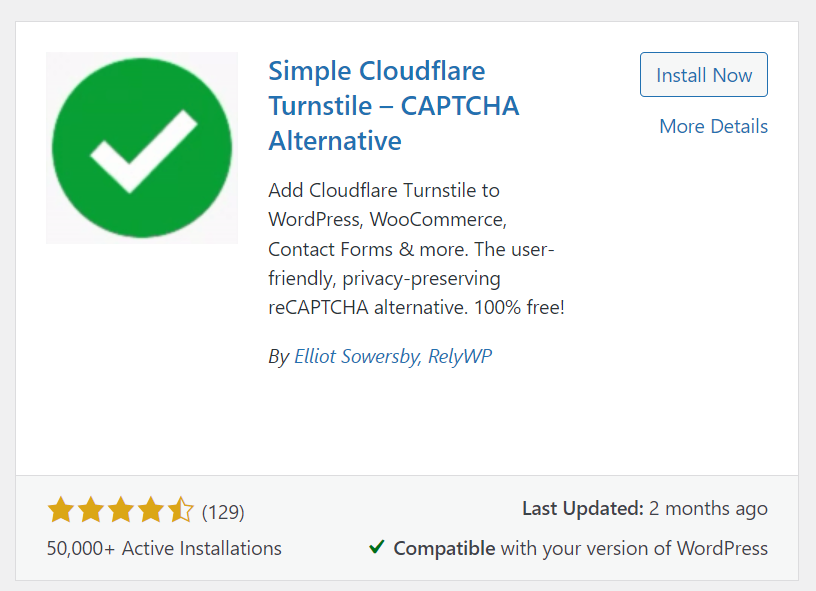
- Click Install Now and Activate the plugin.
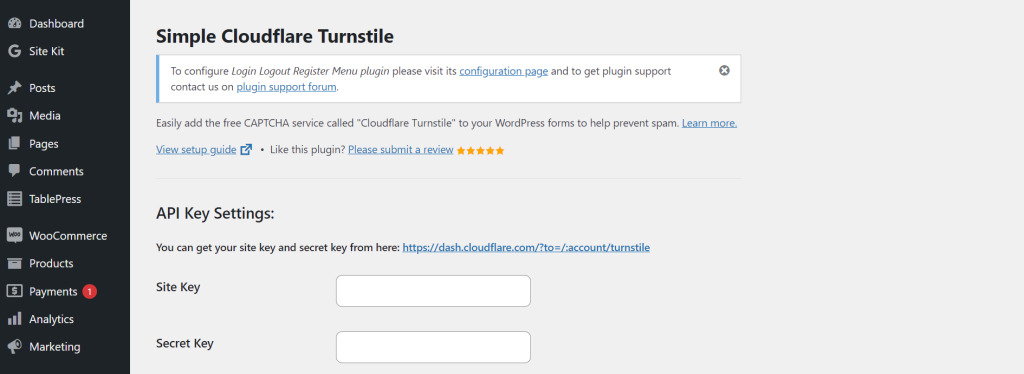
- Go to Settings > Cloudflare Turnstile in your WordPress Plugin dashboard.

- Enter your Cloudflare Site Key and Secret Key (you’ll get these from your Cloudflare account after enabling Turnstile).
- Select which forms (e.g., login, registration, or comment forms) you want to protect with Turnstile.
Step 4: Test Cloudflare Turnstile Integration
- Log out of your WordPress admin panel.
- Visit the forms you’ve enabled Turnstile protection on to verify that it is working properly.