In our last article, we introduce how to customize the number bullet points in the paragraph. However, in some cases, we want to change the bullet point dots to check marks, which makes your web design more unique.
In this article, we will introduce how to customize the bullet point dots to check mark in the paragraph in WordPress.
We will use Custom CSS and the Elementor Text Editor.
Why Customize Bullet Points?
Customizing bullet points can:
Improve the visual appeal of your content.
Enhance readability and focus attention.
Align with your website’s branding.
For instance, replacing default bullet points with check marks can signify completed tasks or positive actions, making your lists more engaging and purposeful.
Step-by-Step Guide to Customizing Bullet Points
1. Create a List in the Elementor Text Editor
Add a Text Editor widget to your page in Elementor.
- Add a list in the paragraph, and choose a bulleted list.
2. Add a Custom CSS Class
To apply the custom CSS only to this specific list, assign a CSS class:
Select the Text Editor widget.
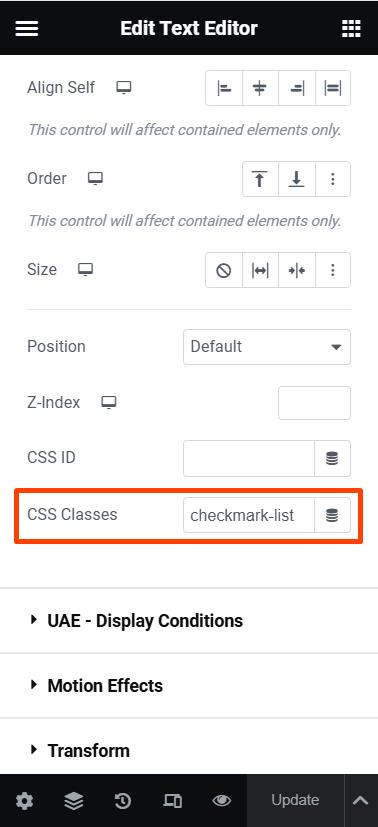
Go to the Advanced tab.
In the CSS Classes field, enter a class name, such as
checkmark-list.

3. Add the Custom CSS
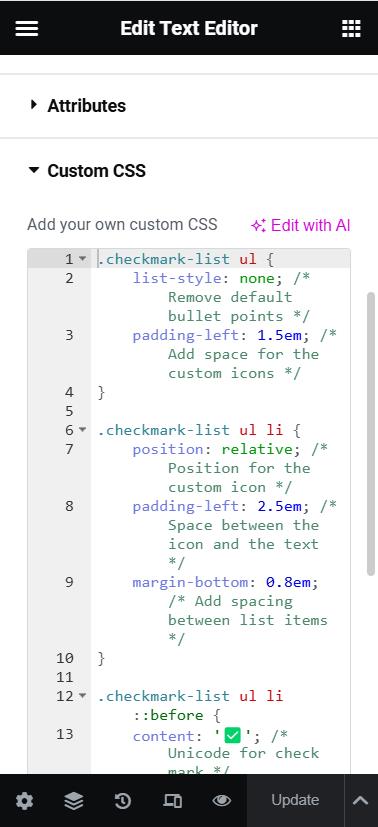
If you have Elementor Pro, you can add the CSS directly under the Advanced > Custom CSS section of the widget.

Here’s the CSS code to replace the default bullet points with check marks:
					.checkmark-list ul {
    list-style: none; /* Remove default bullet points */
    padding-left: 1.5em; /* Add space for the custom icons */
}

.checkmark-list ul li {
    position: relative; /* Position for the custom icon */
    padding-left: 2.5em; /* Space between the icon and the text */
    margin-bottom: 0.8em; /* Add spacing between list items */
}

.checkmark-list ul li::before {
    content: '✅'; /* U check mark */
    position: absolute;
    left: 0; /* Align the check mark to the left */
    color: green; /* Set the check mark color */
    font-weight: bold; /* Make it bold */
    font-size: 1.2em; /* Adjust the size of the check mark */
}
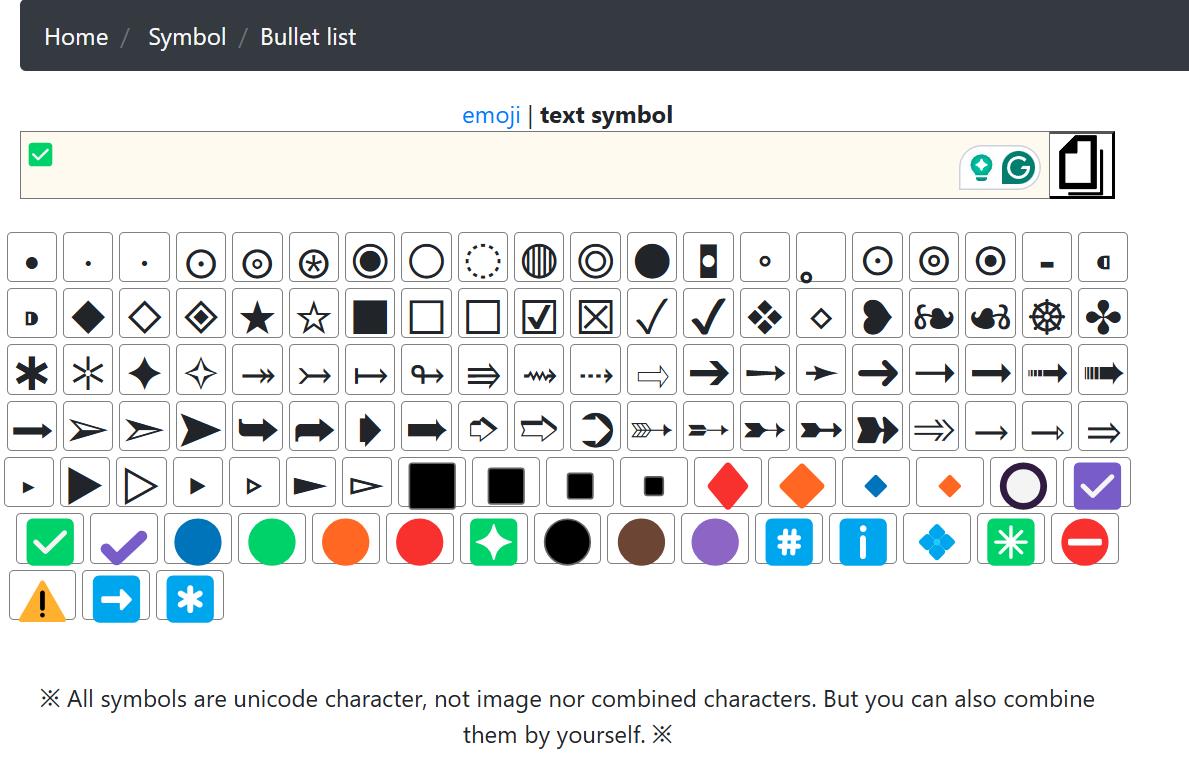
The content: ‘✅’; property uses the Bullet Point Checkmark Icon for a checkmark. You can choose your favorite icon from this website https://www.piliapp.com/symbol/bullet-point/

You can also customize the color, size, and position using color, font-size, and left properties.
Preview Result
After applying the CSS, your list will look like this:
✅ First item
✅ Second item
✅ Third item
Conclusion
Customizing bullet points in Elementor to check marks is a simple and effective way to enhance your website’s design. By following this guide, you can achieve professional-looking lists that align with your brand and content goals. Use custom CSS to customize the style of the bulleted list dot is very convenient, the result will be a more engaging and visually appealing list.

