How to create a Plugin to edit the Storefront theme footer text

The Storefront theme is a popular choice for WooCommerce stores due to its simplicity and compatibility with WooCommerce. However, the default footer text often contains credits and links that some store owners may want to customize or remove entirely. Using a plugin to do this ensures your changes are not impacted by the future update of the WordPress new version or theme updates.

In this article, we’ll guide you through the process of creating a WordPress plugin that allows users to easily edit or remove the footer text in the WooCommerce Storefront theme.

Steps to Create the Storefront Footer Text Customizer Plugin

Step 1: Set Up the Plugin

The first step is to create the basic structure of the plugin.

  • Create the Plugin Folder
    Create a new folder called storefront-footer-customizer. in your PC.
  • Create the Plugin File
    In the storefront-footer-customizer folder, create a PHP file named storefront-footer-customizer.php. This will contain the code for your plugin.

Step 2: Add the Plugin Header and Customizer Code

In the storefront-footer-customizer.php file, add the following code:

				
					<?php
/*
Plugin Name: Storefront Footer Text Customizer
Description: Allows users to edit or remove the footer text in the Storefront theme via the WordPress Customizer.
Version: 1.1
Author: WPCOLLEGE
Author URI: https://wpcollege.com
*/

// Add Custom Footer Text Setting to Customizer
function storefront_footer_customizer( $wp_customize ) {
    
    // Add a section for the footer text under the Storefront theme options
    $wp_customize->add_section( 'storefront_footer_section', array(
        'title'       => __( 'Footer Text', 'storefront' ),
        'priority'    => 160,
        'description' => __( 'Edit or remove the footer text for Storefront theme.', 'storefront' ),
    ) );

    // Add setting to store custom footer text
    $wp_customize->add_setting( 'storefront_footer_text', array(
        'default'           => '',
        'sanitize_callback' => 'sanitize_textarea_field',
    ) );

    // Add a control to input custom footer text (textarea for multiple lines)
    $wp_customize->add_control( 'storefront_footer_text_control', array(
        'label'    => __( 'Footer Text', 'storefront' ),
        'section'  => 'storefront_footer_section',
        'settings' => 'storefront_footer_text',
        'type'     => 'textarea',  // Changed to textarea for multiline input
    ) );
}
add_action( 'customize_register', 'storefront_footer_customizer' );


This code does the following:

  • Adds a new section in the Customizer under Storefront Theme Options.
  • Adds a setting to store custom footer text.
  • Provides a control in the Customizer to input text, using a textarea for multi-line support.

Step 3: Remove the Default Footer Text

The next step is to remove the default footer credit that Storefront displays. To do this, add the following code to your plugin file:

				
					// Remove default footer credit text
add_action( 'template_redirect', 'remove_storefront_footer_credit' );
function remove_storefront_footer_credit() {
    remove_action( 'storefront_footer', 'storefront_credit', 20 );
}


This code ensures that the default Storefront footer credit is removed when the theme loads.

Step 4: Display the Custom Footer Text

Now, we will display the custom footer text that users input through the Customizer. Add this code to the plugin file:

				
					// Display Custom Footer Text
add_action( 'storefront_footer', 'custom_storefront_footer_text', 20 );
function custom_storefront_footer_text() {
    // Get the custom footer text from the customizer
    $custom_footer_text = get_theme_mod( 'storefront_footer_text' );

    // Display the custom footer text if it exists
    if ( ! empty( $custom_footer_text ) ) {
        echo '<div class="site-info">' . nl2br( esc_html( $custom_footer_text ) ) . '</div>';
    }
}


This function retrieves the custom footer text from the WordPress Customizer using get_theme_mod(). If the text exists, it outputs it in the footer section of your site, replacing the default footer.

Step 5: Activate the Plugin

  1. Zip the storefront-footer-customizer folder.
  2. Go to your WordPress dashboard.
  3. Navigate to PluginsAdd NewUpload Plugin and upload the ZIP file.
  4. Once uploaded, activate the plugin.

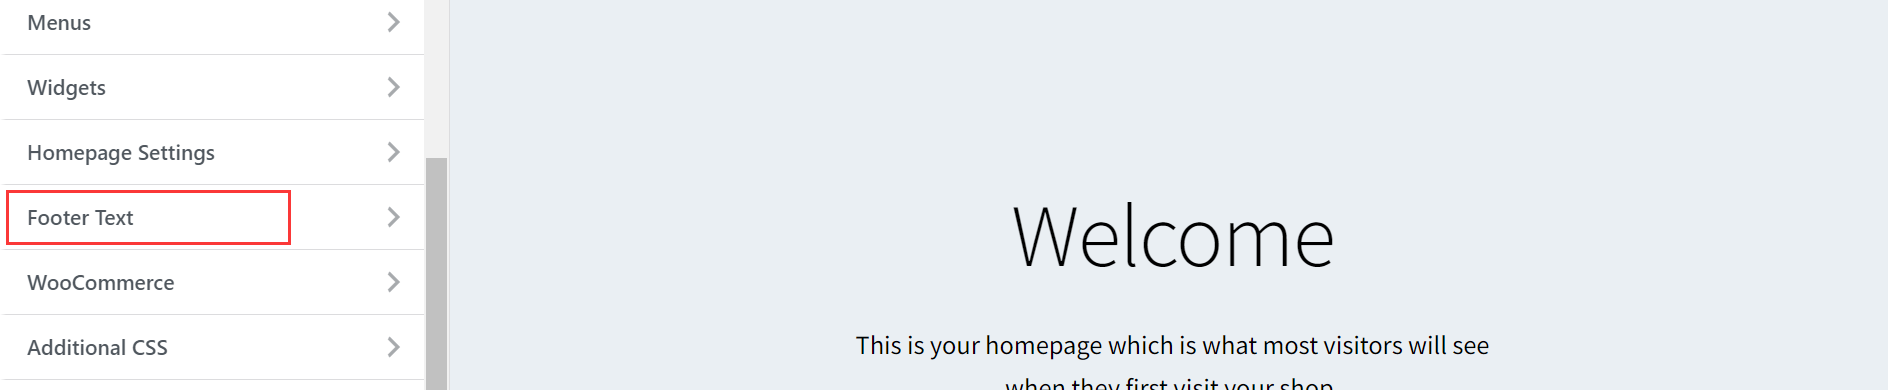
Step 6: Customize the Footer Text

Once the plugin is activated, you can customize the footer text as follows:

1. Go to AppearanceCustomize.

2. Navigate to the new Footer Text section.

 
3. In the textarea field, enter the text you want to display in the footer.

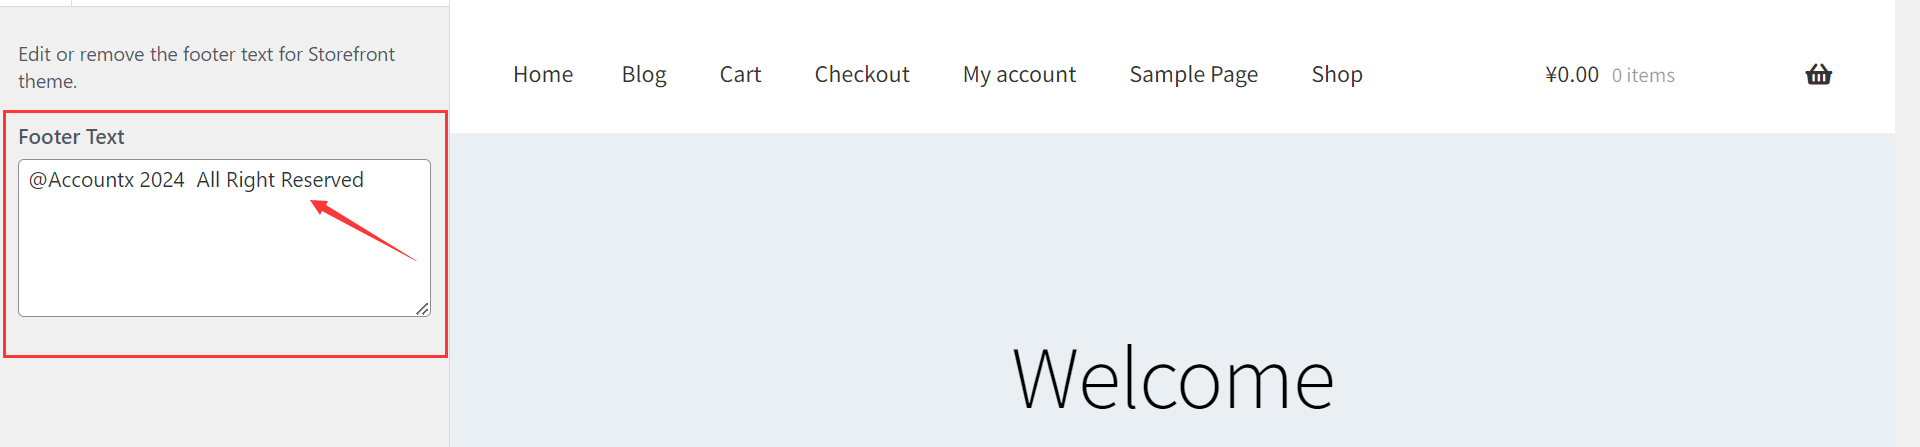
4. Publish and you have edited the storefront footer text successfully now 

Conclusion

With this plugin, you now have full control over the footer text in the Storefront theme. You can easily edit or remove the footer text through the Customizer, ensuring your site looks exactly the way you want without touching the theme’s code directly.

Scroll to Top