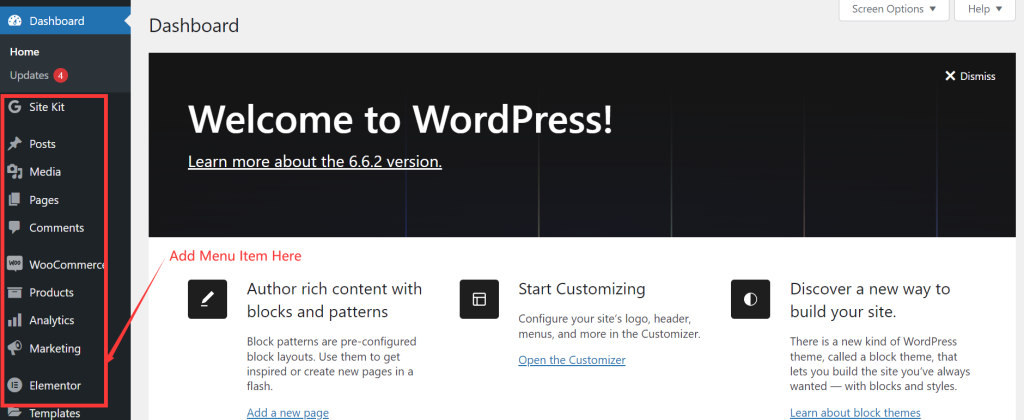
When you create a WordPress plugin,sometimes you need to add an admin menu to WordPress dashboard.An admin menu makes your plugin easier to access. Also with a custom admin menu, you can show and add more features to your WordPress site.

To add a menu item to the WordPress dashboard, you can use the add_menu_page() function in your theme’s functions.php file or in a custom plugin.
In this article, we will introduce how to add an admin menu item to the WordPress dashboard by creating a plugin. A plugin is the best, because we want to keep the functions.php clean and tidy.
Step 1: Create a New Plugin Folder and File
- Create a new folder, for example,
custom-admin-menu. - Inside this folder, create a new PHP file, for example,
custom-admin-menu.php.
Step 2: Add Basic Plugin Code
In the custom-admin-menu.php file, add the following code:
					<?php
/*
Plugin Name: Custom Admin Menu
Description: Adds a custom admin menu to the WordPress dashboard.
Version: 1.0
Author: WPCOLLEGE
Author URI:https://wpcollege.com
*/

function my_custom_admin_menu() {
    add_menu_page(
        'Custom Admin Page',       // Page title
        'Custom Menu',             // Menu title
        'manage_options',          // Capability
        'custom-admin-page',       // Menu slug
        'custom_admin_page_content', // Function to display content
        'dashicons-admin-site',    // Icon (optional)
        6                          // Position (optional)
    );
}
add_action('admin_menu', 'my_custom_admin_menu');

function custom_admin_page_content() {
    ?>
    <div class="wrap">
        <h1>Custom Admin Page</h1>
        <p>This is the content of the custom admin page!</p>
    </div>
    <?php
}
Explanation of Parameters:
- Page title: This is the title of the page shown in the browser title bar.
- Menu title: This is the title shown in the admin menu.
- Capability: The user role required to access the page (
manage_optionsmeans only administrators can see it). - Menu slug: A unique identifier for the menu item (used in the URL).
- Function: The function that will display the content of the page.
- Icon: Optional. You can use a URL or a Dashicon class for a menu icon.
- Position: Optional. The position in the menu where the item will appear.
Step 3: Install and Activate the Plugin
- After creating the plugin file, Zip the folder as custom-admin-menu.zip .
- Navigate to Plugins > Add New Plugin->Upload Plugin.
- Upload the custom-admin-menu.zip document and click Activate.
Step 4: Verify the Admin Menu
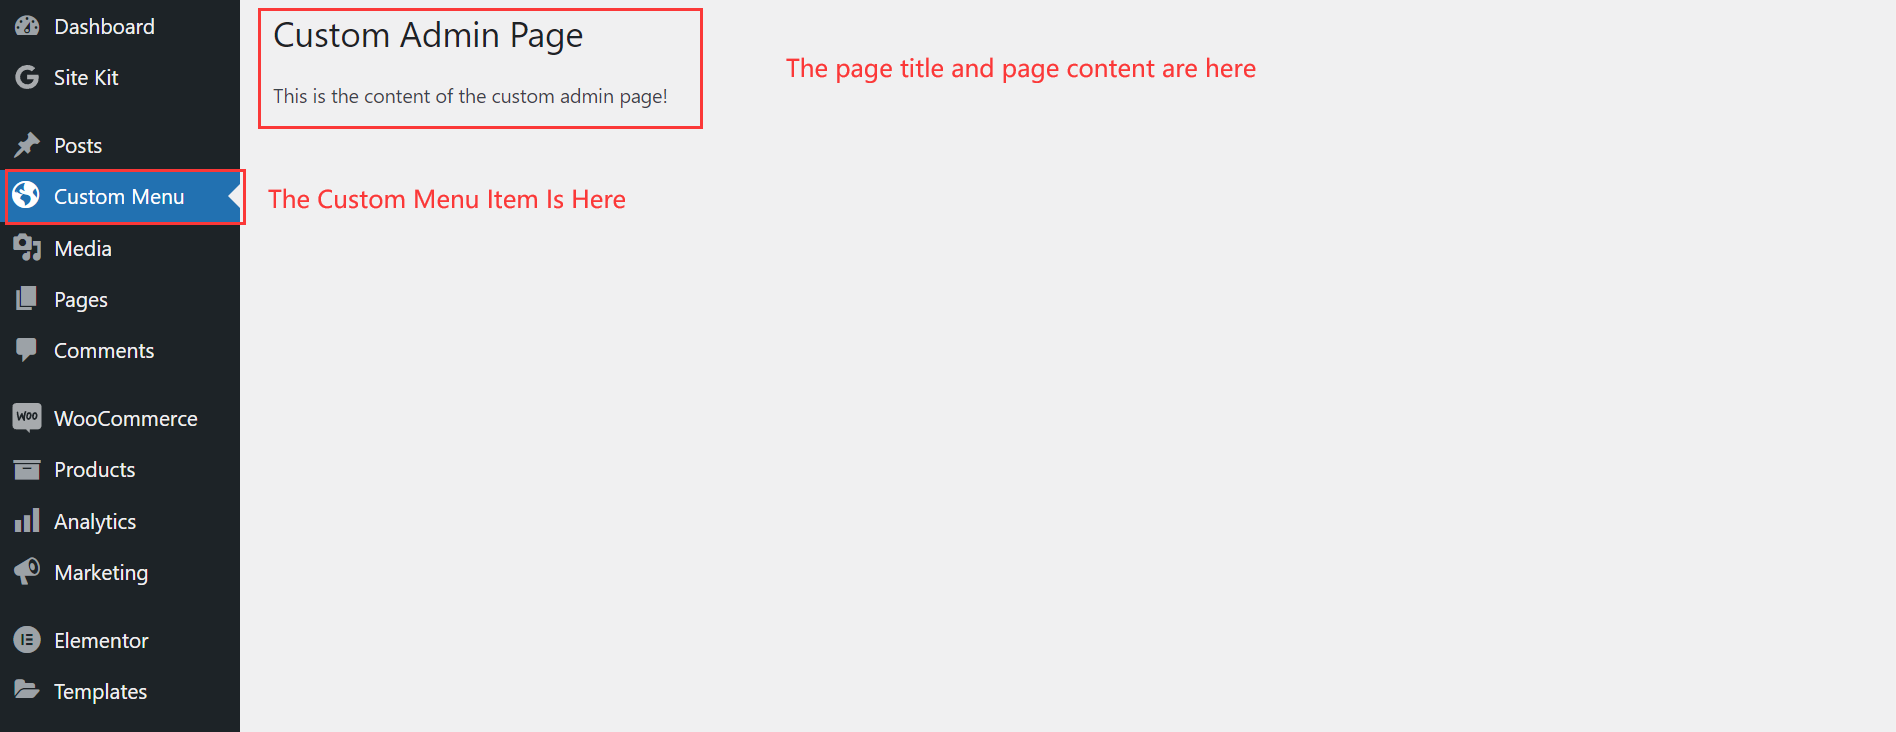
Once the plugin is activated, you should see your custom menu item in the WordPress admin sidebar with the title “Custom Menu.” Clicking it will take you to a page displaying the content you defined in the custom_admin_page_content() function.
 Customizing the Plugin
You can customize your plugin further by:
- Adding Submenus: Use the
add_submenu_page()function to create submenu items under your custom menu.
add_submenu_page() function:
					function my_custom_admin_submenu() {
    add_submenu_page(
        'custom-admin-page',       // Parent slug
        'Submenu Page',            // Page title
        'Submenu',                 // Menu title
        'manage_options',          // Capability
        'custom-submenu-page',     // Menu slug
        'custom_submenu_page_content' // Function to display content
    );
}
add_action('admin_menu', 'my_custom_admin_submenu');

function custom_submenu_page_content() {
    ?>
    <div class="wrap">
        <h1>Submenu Page</h1>
        <p>Welcome to the submenu page!</p>
    </div>
    <?php
}
- Custom Icons in front of the menu item
You can find the available Dashicons at the Dashicons library. The link is https://developer.wordpress.org/resource/dashicons/. From the Dashicons library, you can find all kinds of icon you want to display in front of your custom menu item.
dashicons-welcome-view-site, which you would pass as the icon parameter in add_menu_page().
